Even though I’m definitely not a shiny-type person, I decided to experiment with metallic yarn, since I’ve never used them before. I only have this one little square, because I have to warp my loom yet again. Even though I thought I was following directions, I can’t seem to move the woven portion of the warp down so that I can weave more above it. Maybe if I warp this loom enough times, I’ll get the hang of it! I was thinking that I would use metallics on this pulled-warp cube, along with some silks and other shiny yarns.
  I’m sure this will come as no surprise to most of you, but metallic yarn is stiff. And, since I mixed it with the single strand of wool that I was using, some build-up issues happened. But I will forge ahead with shiny things—after I get a warp that works!
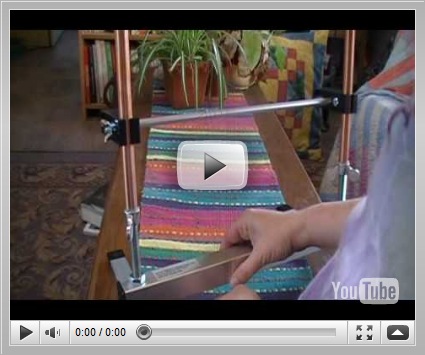
This is a video that Christina Neit of Good Quill Hunting made of warping her Mirrix. Below the video are written instructions from the Mirrix website. I was having a hard time reconciling to two. In the video, Christina makes a complete circle around the warp bar and goes back to the top where the coil is. I asked the Mirrix guru, Claudia Chase, about the differences in the two warping methods. What she tells me is that the method shown in the video is not as stable for tapestry as are the written instructions.
Do a U-turn around the front of the warping bar thereby reversing direction and heading back down to the bottom beam. Take the warp up the back of the loom to the top beam, down the front of the top beam and into the next dent in the spring. Bring the warp to the warping bar, make a U-turn around the warping bar and head back up to the top beam of your loom and through the warp coil and then head down the back of the loom to the bottom beam.
Here are the paper instructions that came with the loom:
Make a U-turn around the warping bar and head back down the back of the loom, around the bottom beam, up the front of the loom and through the coil on the top beam, down the back of the loom to the warping bare where you will again make a U-turn and head back to where you came from.
I have realized after comparing the written instructions that I received with the loom and the above instructions from the website, that there are some discrepancies. That one word, front, is very helpful and is missing from the paper instructions.
Claudia also suggested that I must be crossing my warp threads to cause the problem of the warp bar not moving. Well, guess what? That’s exactly what I’m doing! Here is a picture of my warp ends. I’ve labeled the first picture. At the top is the warp bar, at the bottom is the bottom bar of the loom.
This is the way it SHOULD be done. I know you can’t tell much, so let me just say that the warp bar has been pushed down to the bottom of the loom. That means it works! Yippee! The warp is wide and it was difficult to get a location to take a picture. Plus, the light had totally changed from early afternoon to night by the time I got here. I now have a warp on the loom, and even though it has several knots, it moves. I don’t remember where I read it, but I think you can tie new warp onto the warp bar when necessary. But I’ve been having so much trouble, that I just knotted my warp ends together. I’ve been desperate to get a warp on. Below is what I’m using as a spool for my warp thread. It’s an old, empty Gutterman spool that has just enough of an edge at each end to hold the warp.
When you run out of warp, tie to the warping bar to end it. Then tie on a new piece at that spot and continue in the direction you were meant to head in. I like this better than tying the warp threads together because they may undo themselves over time.
Thanks, Claudia. I thought that’s what I could do, but I’ve been so obsessed with getting a good warp, I was afraid to do that. Everything is working so far. Fingers are crossed!